When it comes to mobile automation and mobile testing techniques, the first thing comes to the mind is, “Can we do it for Free”? The answer is, maybe. The answer to “maybe” comes to Appium, a popular tool.
Testing of secured, pre-production application with something that you can’t see which has been uploaded in public clouds. Not a great idea.
With Mobileum Smartphone Experience, you have the answer. Your applications are secured in your own account, accessible only by your users, that you can modify, delete anytime you want.
Even with mobile application scripting itself, automated mobile app testing with Appium requires a lot of coding. Not to mention it has its limitations. For example, check out a very common application that is being installed by 10,000,000+ Android users. Consider a very simple scenario, Launch Application, Click Watch Live and verify that it launches the player. Looks pretty simple!
But, when I try to write the script using Appium desktop (to see what objects we can use), I came across an issue even on this simple scenario. Because, on a specific screen, it could not obtain the screenshot, and thus, I have no idea on how to verify (unless I know each and every object in App source).

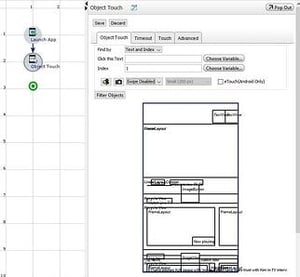
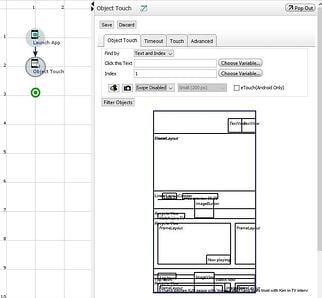
On the other hand, using Appex Studio and Object command, I can see what is there on the screen.
The best part is that the scripting itself is visual: simple drag and drop.
(Tip: If you are a hardcore JAVA developer and like to code, try the JAVA API)
Along with Object recognition, with Mobileum Smartphone Experience proprietary commands (Image, text based), you can go one more level deep and verify: “It not just works, but it works perfectly”.
Consider another scenario. Let’s suppose that you are writing a script for your shopping applications. The test case is to find a shoe, find the right size and add it to your cart. Check out the image below.

As you can notice, there are two types of boxes where the sizes are provided. The available sizes are within a solid lined box whereas the ones not available is grayed out. If you look at the left side of the screen, the way device’s accessibility API works, it cannot differentiate between the two, at least in this case. So now we are stuck.
Oh, did I mention monitoring of the application(s) using the same script created for testing?
You can place some timers around the verification in your script, measure the real user experience time in milliseconds, create reports, have some alarms placed for your NOC team along with escalations to management, all in the same tool and UI.
In summary, here are some key advantages for automated mobile app testing and monitoring with Appium for iOS and Android devices:
- User friendly, unified UI for using the devices
writing scripts either using visual commands or JAVA code - Multiple technologies in one simple UI
object based using device accessibility, Web commands for Website, proprietary image and text based commands - Simple scheduling in the same platform
to run your test cases unattended - Use the same scripts to monitor and report
the real user experience values, that is performance monitoring and availability - Ability to control hardware functions remotely
to have more flexibility - Restful APIs
for integration with third party tools - Ability to record and download
ADB logs (for Android) and application logs (for iOS) during script execution and Manual Testing - Multi device testing & monitoring
send SMS from device 1 and verify/measure on device 2


Give us your comments
Let us know what you thought about this article